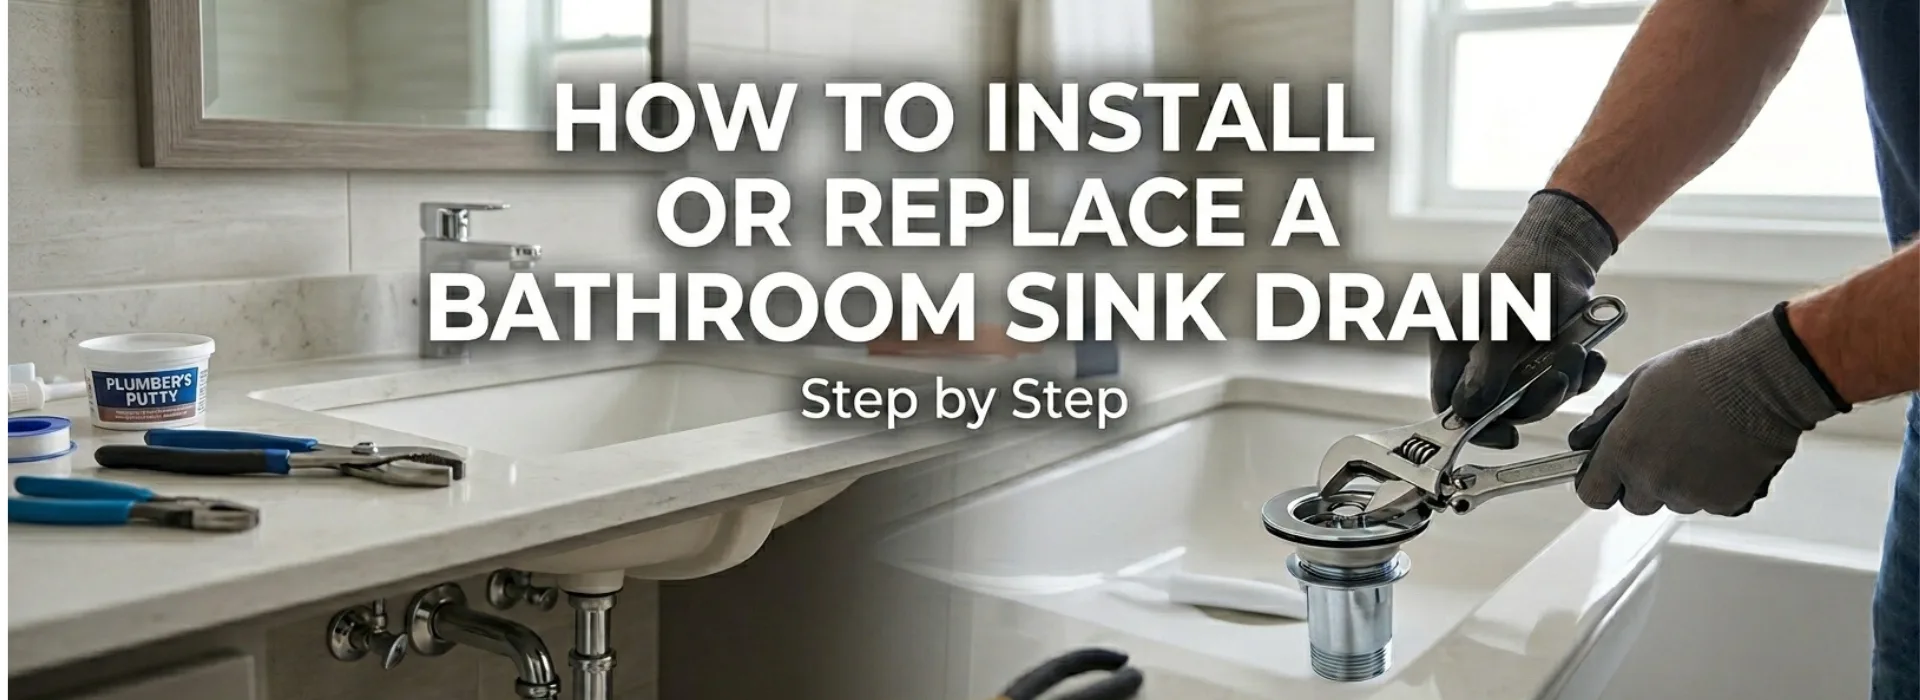
How to Install or Replace a Bathroom Sink Drain Step-by-Step
Remove the old drain. Clean the opening. Add putty. Install the new one. Tighten it. Run water. Check underneath. That’s pretty much everything. It just feels longer when you write it out like this.
by Sooraj T. Mathews
Jun 22, 2026
5 minute read
Table of Contents
- Tools and Materials You'll Need
- Step-by-Step Guide to Install or Replace a Sink Drain
- Common Mistakes to Avoid
- When Should You Replace Instead of Repair?
- Tips for Long-Lasting Drain Performance
- Frequently Asked Questions
Introduction
Drain problems don’t usually show up all at once. It starts small. A drip. Maybe once. Then again later. Or water under the sink that you notice, wipe, and forget about.
Until it shows up again.
You tighten something. It helps. For a bit.
Then you’re back there doing the same thing, maybe a little differently this time. That’s usually where replacing the drain starts to make more sense than fixing it again. Not because it’s difficult. Just… repeating it gets old.
And once you actually start replacing it, it doesn’t feel complicated. Just a sequence. That’s really all it is.
Tools and Materials You'll Need
- New sink drain kit
- Plumber’s putty or silicone
- Adjustable wrench
- Bucket
- Towels
- Pipe tape
Step-by-Step Guide to Install or Replace a Sink Drain
This is the part that looks technical.
It isn’t really.
It’s just order. If the order holds, everything else usually does too.
Remove → clean → seal → install → tighten → test
That’s the whole thing. You don’t need to memorize it. It just sort of… repeats itself as you go.
Step 1 – Remove the Old Drain
Put a bucket under the sink. It is not optional.
Loosen the pipe connections. Sometimes they move easily. Sometimes they don’t, and you end up adjusting your grip or angle without really thinking about it.
The drain itself can go either way. It might come out right away. Or it might feel stuck longer than expected.
If it doesn’t move, don’t rush into forcing it. Twist a bit. Pull. Let go. Try again. It usually comes loose, just not always immediately.

Step 2 – Clean the Sink Opening
This part gets rushed a lot.
Old putty stays behind. Even when it looks clean, it usually isn’t. It’s thin. Hard to see. Easier to feel.
Run your finger across the surface and you’ll notice it—slight unevenness.
That’s enough to cause problems later. Not right away. Later. Which is why people miss it.
Step 3 – Apply Plumber’s Putty or Sealant
Take a small amount. Roll it out. Press it around the flange.
That’s enough.
There’s always that moment where it feels like you should add more. Just in case. But more doesn’t really do what people think it does.
It just squeezes out later. Sometimes unevenly. Then you’re wiping it anyway.
Keeping it simple tends to work better.
Step 4 – Install the New Drain
Place it in. Press it down.
Then pause for a second. Not long. Just enough to look at it.
If it’s slightly off, even a little, it won’t seal evenly. You won’t notice right away. It shows up later. That’s usually how it goes.
So just adjust it now if needed. Easier here than later.
Step 5 – Tighten All Connections
Go underneath and tighten everything.
Not too much.
This part—people tend to overdo it without realizing. Tight feels secure, so they keep going. Then something cracks. Or threads don’t sit right anymore.
Now you’re dealing with something new.
Just tighten until it holds. That’s enough. It doesn’t need more.
Step 6 – Test for Leaks
Turn the water on.
And stay there for a bit. Don’t just check quickly and leave. Some leaks don’t show right away. They take a few seconds. Sometimes longer.
If you see a drip, fix it now. It won’t fix itself later.
Common Mistakes to Avoid
- Over-tightening (happens more than expected)
- Using too much sealant
- Drain slightly off-center
- Skipping the leak check because it looks fine
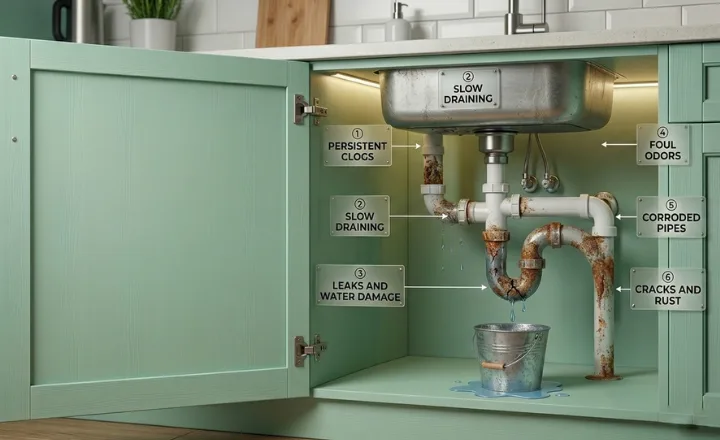
When Should You Replace Instead of Repair?
There’s a pattern with drains that are starting to fail. You fix something, it works, then the same issue comes back.
Not immediately. But soon enough.
Rust usually shows up first. Then corrosion. Sometimes small cracks. Easy to miss early on.
Once that starts, repairs don’t really last. They hold for a bit. Then fail again.
If you’ve fixed the same spot more than once recently, that’s already a sign. Replacing it once is usually easier than repeating it.
Something That Doesn’t Get Mentioned Much
Sometimes the issue isn’t just the drain itself. It’s how everything sits underneath.
If something feels slightly off—even if it’s not leaking—it’s worth checking. Alignment. Pressure. How things sit together.
It doesn’t always cause problems right away. But it shows up later. That’s usually how it happens.
So if something feels off during installation, it probably is.
Tips for Long-Lasting Drain Performance
- Clean it occasionally — buildup happens slowly
- Avoid grease — it sticks more than expected
- Use a drain cover — simple, helps
- Check leaks early — easier than fixing damage later
You don’t need to do much. Just enough so you don’t end up back here again.
Frequently Asked Questions
Can I replace a sink drain without a plumber?
Yes. Basic tools are enough.
How long does it take to install a sink drain?
Usually around 30–60 minutes.
Do I need plumber’s putty or silicone?
Putty is more common. Silicone works too.
Why is my new sink drain leaking?
Usually alignment, loose fittings, or sealing issues.
Conclusion
It’s not difficult. It just feels like it before you start. Once you go through it once, it makes sense. And the next time… it’s quicker.
-min (1).png)
Sooraj T. Mathews
Sooraj is a content creator with 5 years of experience and a knack for making SEO work feel like storytelling. With 4 years in the digital marketing game, he blends strategy and creativity to craft content that clicks and converts. Outside of work, you'll find him unwinding with a good puzzle or getting lost in a great book—always curious, always learning.

.webp)
.webp)
.webp)
.webp)
.webp)